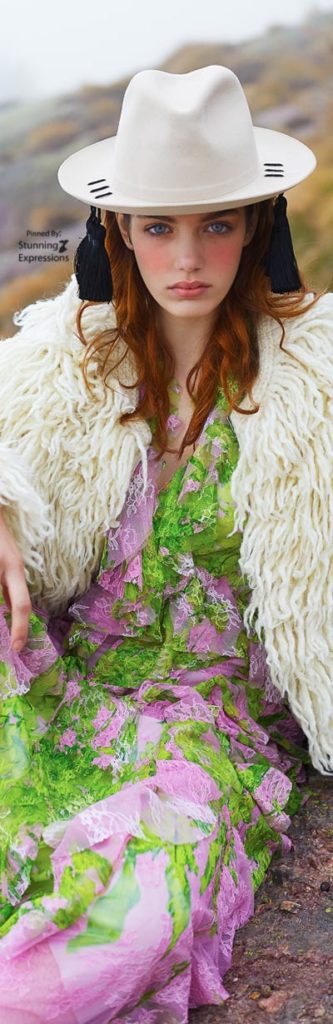
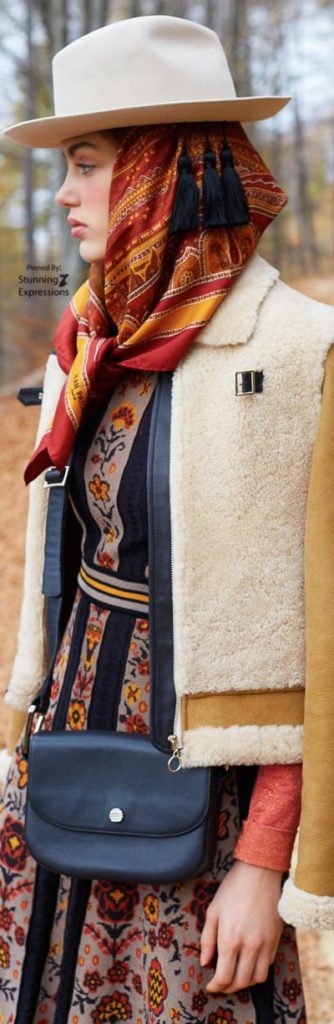
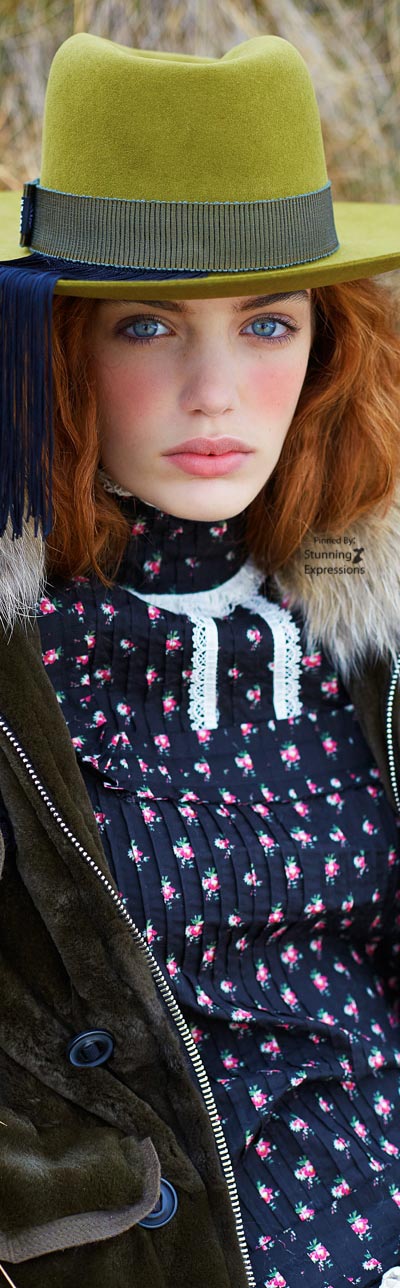
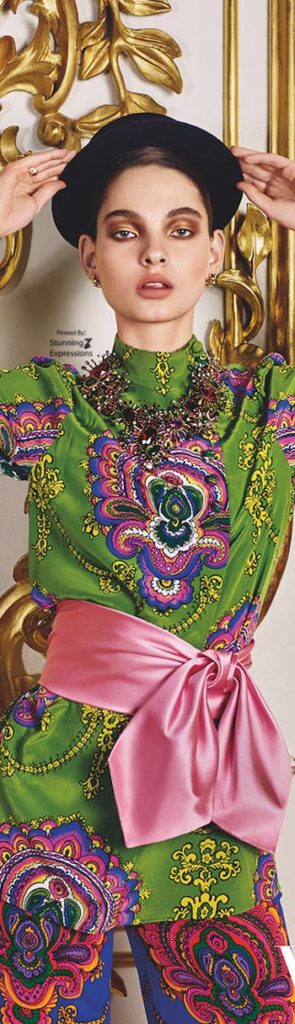
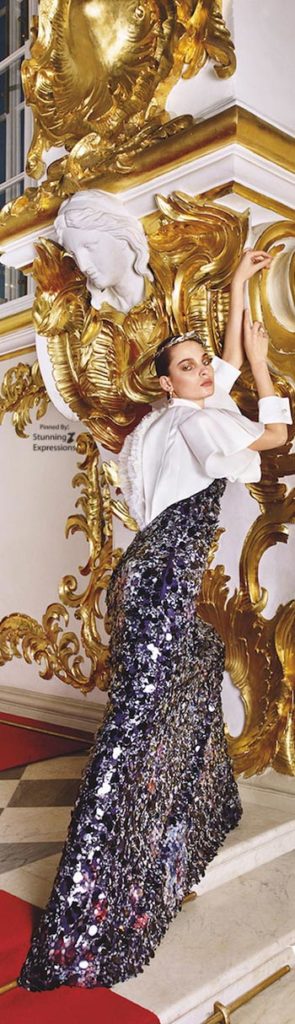
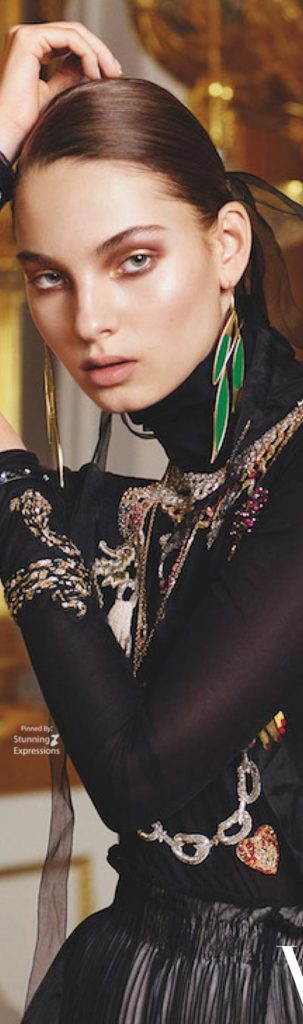
Valentino Spring 2018 Couture

Valentino Spring 2018 Couture

Chocolate-Stout Cupcakes

Chocolate-Stout Cupcakes

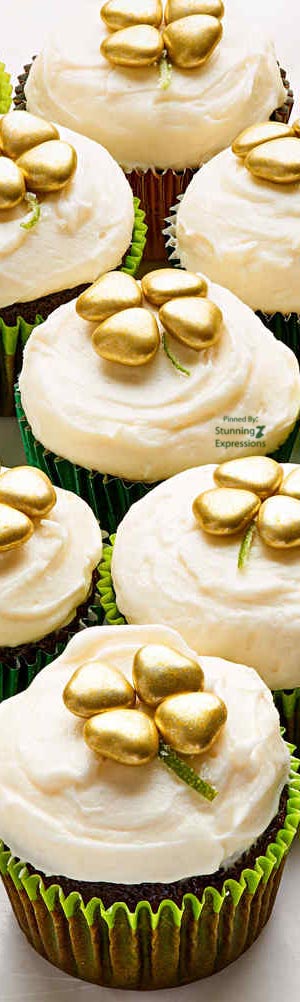
These cupcakes can be frosted and stored in an airtight container in the refrigerator up to a day ahead. Decorate them with the hearts just before serving.

Cream-Cheese Frosting

  • 16 ounces cream cheese
  • 1 stick unsalted butter, room temperature
  • 2 cups confectioners' sugar
  • 1/4 tsp kosher salt
  • 1 tsp pure vanilla extract

Cupcakes

  • 2 cups unbleached all-purpose flour
  • 2 cups plus 2 tablespoons sugar
  • 1 tsp baking soda
  • 1 tsp kosher salt
  • 2 sticks unsalted butter
  • 1/3 cup unsweetened Dutch-process cocoa powder
  • 1 bottle (11.2 ounces) stout, such as Guinness (about 1 1/3 cups)
  • 2 large eggs, lightly beaten
  • 1/4 cup sour cream
  • lime
  • 96 units chocolate gold hearts

Cream Cheese Frosting

  1. Beat cream cheese with butter until fluffy, about 5 minutes. Add confectioners’ sugar, 1 cup at a time, and beat until smooth, scraping down sides of bowl as necessary. Beat in vanilla and salt. Frosting can be stored in an airtight container in refrigerator for up to 5 days.

Cupcakes

  1. Preheat oven to 375 degrees. Line two standard 12-cup muffin tins with baking cups. In a large heatproof bowl, whisk together flour, 2 cups sugar, baking soda, and salt.
  2. Melt butter in a saucepan over medium heat. Whisk in cocoa powder, then stout. Increase heat to medium-high and bring mixture to a boil, whisking occasionally. Remove from heat; stir into flour mixture just until combined. Stir in eggs and sour cream.
  3. Divide batter evenly among cups, filling each two-thirds of the way. Bake, rotating once, until cupcakes spring back and a tester inserted in centers comes out clean, 16 to 18 minutes. Transfer tins to wire racks; let cool completely.
  4. Meanwhile, peel wide strips of lime zest with a vegetable peeler. Thinly slice zest into 1/8-inch-wide strips. Coat strips in remaining 2 tablespoons sugar; cut into 1/2-inch-long pieces.
  5. Spread cupcakes with 2 cups frosting (reserve remaining for another use). Top each with 4 gold hearts (to form a shamrock) and 1 piece of sugared lime zest (to make a stem). Serve.

Rainbow Baked Donuts

Rainbow Baked Donuts

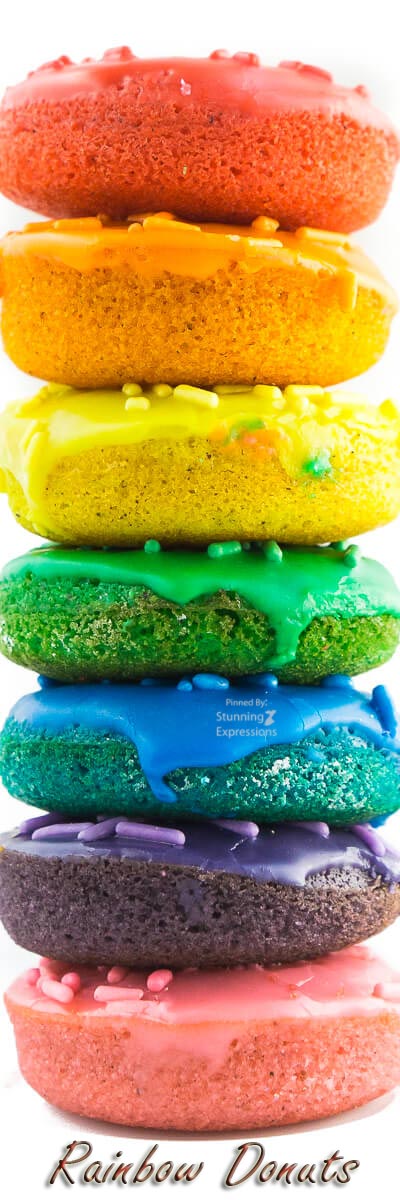
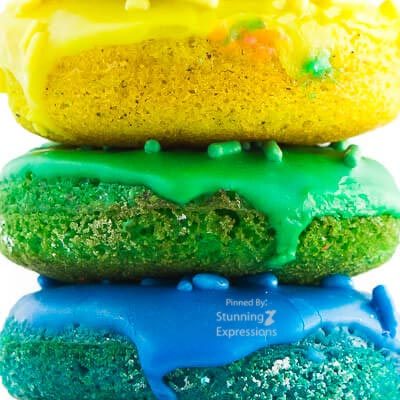
This easy rainbow baked donut recipe is the perfect way to impress guests! Britni – Play-Pary-Plan

For the Donuts

  • 1 cup all-purpose flour
  • 1/3 cup Vital Proteins Vanilla & Coconut Water Collagen Peptides
  • 2 tsp baking powder
  • 1/4 tsp salt
  • 1 large egg
  • 1/2 cup white sugar
  • 3/4 cup milk
  • 3 tbsp coconut oil melted
  • 2 tsp vanilla extract
  • Liquid food coloring
  • Colored sprinkles (optional)

For the Icing

  • 1 1/2 tbsp milk
  • 1 tsp vanilla extract
  • 1 1/2 cups powdered sugar
  • 1 scoop Vital Proteins Collagen Peptides
  • Food coloring

For the donuts

  1. Preheat oven to 375 degrees.
  2. Mix flour, baking powder, salt, and Vanilla & Coconut collagen peptides together in a bowl then set aside.
  3. In another bowl, beat egg and sugar together. Add milk, vanilla, and coconut oil and mix until completely mixed.
  4. Stir in flour mixture, mixing only until the lumps are gone.
  5. Spilt batter evenly among the number of bowls you want different colors.
  6. Add 1-2 drops of food coloring to the bowls and mix until you achieve the color you want.
  7. Fill greased or sprayed mini-donut pans about 1/2 full with colored batter. Bake for 8-10 minutes or until a toothpick comes out clean and the donuts are no longer sticky to the touch.
  8. Remove immediately and allow to cool on a cooling rack.

For the Icing

  1. Mix all ingredients in a bowl and beat together until smooth.
  2. Split icing into bowls, one per color you want.
  3. Add 1-2 drops of food coloring and mix until you achieve the color you want.
  4. Once donuts are cooled, dip gently into the matching color icing and sit on piece of parchment paper to dry. Top with colored sprinkles and eat.

St. Patrick’s Day Dessert Bar

St. Patrick’s Day Dessert Bar

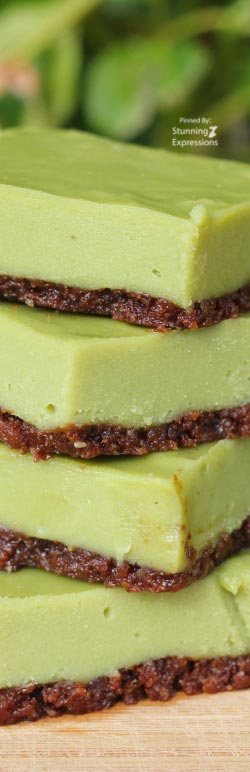
So many things make this dessert unique and special! The filling is made with heart-healthy beauty foods cashews and cocoa butter instead of dairy. The bars are sweetened with maple syrup and dates, which are lower glycemic and in general healthier than other sugars (but it is still sugar, so enjoy in moderation)!  The festive green color comes from a natural and healthy source, not from a food coloring.

Crust Ingredients

  • 3/4 cup raw walnuts
  • 10 medium organic medjool dates (pitted)
  • 1 tbsp organic raw cacao powder
  • 1/4 tsp pink himalayan salt

Filling Ingredients

  • 1 cup raw cashews
  • 1/2 cup organic cacao butter
  • 1/2 cup pure organic maple syrup
  • 1/2 tsp vanilla extract
  • 1 tsp matcha green tea powder

Crsut Intructions

  1. In a food processor or a Vitamix, blend walnuts, dates cacao powder and salt until well combined and mixture begins to stick together.

    Transfer to an 8×8 inch dish and press evenly to the bottom of the pan to form a crust.

Filling Instructions

  1. Soak cashews in filtered water for at least an hour. Strain and discard the water.

    Melt cacao butter in a saucepan over low heat.

    Blend cashews in a Vitamix or another high powered blender until smooth.

    Add cacao butter, maple syrup, and vanilla extract to the cashews and blend on high until well combined.

    Add matcha green tea to the cashew mixture and blend until the filling is an even green color.

Final Steps

  1. Pour the green tea mixture over the crust and tilt the pan to make sure the filling is evenly coating the crust. Let chill in the refrigerator for at least an hour.

    Cut into bars and serve! You an top with cacao power or drizzle with chocolate if desired. Makes 16 bars.

Maldives Islands - Indian Ocean

Maldives Islands

MALDIVES ISLANDS Travel Photography: Cities, Regions, Monuments, Landmarks, landscapes, highlights, places to go, people, folklore, costumes, culture and history.

Green Velvet Cheesecake Cake

Green Velvet Cheesecake Cake

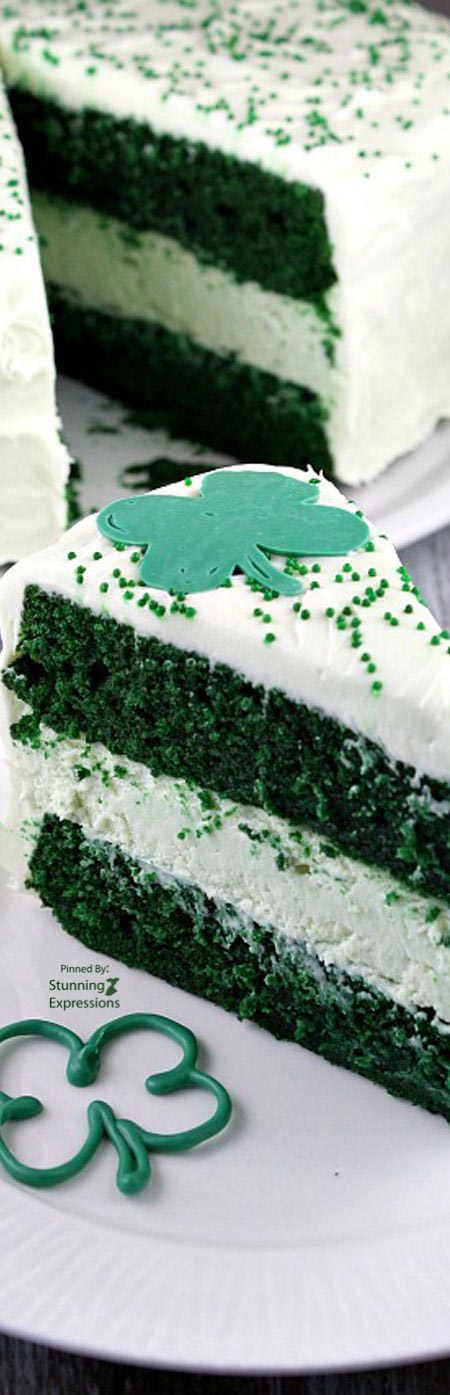
St. Patrick’s Day is coming up soon!  This cake here is your typical red velvet cake made with green food color instead of red. Recipe Girl

Cheesecake:

  • 2 8-ounce packages cream cheese, at room temperature
  • 2/3 cup granulated white sugar
  • pinch of salt
  • 2 large eggs
  • 1/3 cup sour cream
  • 1/3 cup heavy whipping cream
  • 1 tsp vanilla extract
  • a few drops of green food coloring, if desired

Green Velvet Cake:

  • 2 1/2 cups all-purpose flour
  • 2 tbsp cocoa powder
  • 1/2 tsp salt
  • 1 1/2 cups canola or vegetable oil
  • 1 1/2 cups granulated white sugar
  • 2 large eggs
  • 1 tsp vanilla extract
  • 1 tsp white vinegar
  • 1 tsp baking soda
  • 1 cup buttermilk
  • 2 tbsp (1-ounce bottle) green food coloring Frosting:

Frosting:

  • 2 8-ounce packages cream cheese, at room temperature
  • 1/2 cup unsalted butter, at room temperature
  • 1 7-ounce jar marshmallow creme
  • 1 cup powdered sugar
  • a few drops of green food coloring, if desired

Prepare the cheesecake layer:

  1. Preheat the oven to 325dgF. Place a large roasting pan on the lower third rack of the oven. Place a kettle of water on the stove to boil. Spray a 9-inch spring-form pan with nonstick spray and line the bottom with a round of parchment paper. Wrap a double layer of heavy duty foil around the bottom and up the sides of the pan (you want to seal it so the water from the water bath doesn’t seep into the pan).

  2. In a large bowl, use an electric mixer to blend the cream cheese until it is smooth and creamy, 1 to 2 minutes. Mix in the sugar and salt and blend for 2 minutes, scraping down the sides of the bowl to make sure all is mixed in. Add the eggs, one at a time, blending after each addition. Finally, mix in the sour cream, whipping cream and vanilla (and food color, if using). Mix until smooth. Pour the batter into the prepared pan. Set the pan into the roasting pan in the pre-heated oven. Carefully pour the hot water from your kettle into the roasting pan. Pour enough water so that there is about an inch of water coming up the foil along the sides of the cheesecake pan.
  3. Bake the cheesecake for 45 minutes. It should be set to the touch and not jiggly. Remove the cheesecake from the roasting pan and let it cool on a wire rack for at least an hour. When it has cooled, place the pan into the freezer and let the cheesecake freeze completely (4 to 5 hours or overnight).

Prepare the cake layers

  1. Preheat the oven to 350dgF. Spray two 9-inch round pans with nonstick spray and line each pan with a round of parchment paper (see *Tips). In a medium bowl, sift together the flour, cocoa powder and salt. In a large bowl, combine the oil and sugar together and beat with an electric mixer for 2 minutes. Add the eggs, one at a time, and the vanilla, and beat for an additional 2 minutes.
  2. In a small bowl, combine the vinegar and baking soda and stir to dissolve. Add the vinegar to the bowl, along with the buttermilk and food coloring. Beat on medium-low speed for 1 minute, until blended. Add the dry ingredients and increase speed to medium-high, scraping down the sides of the bowl while mixing, for 2 additional minutes. Divide the batter evenly between the prepared pans. Bake 30 to 35 minutes, or until a toothpick inserted into the center comes out with a few moist crumbs attached. Let the cakes cool for 20 minutes. Run a knife along the edge of the pans, then invert the cakes onto a rack to cool completely.

Prepare the frosting

  1. In a large bowl, using an electric mixer on medium-high speed, combine the cream cheese and butter and beat until creamy and smooth. Add the marshmallow creme and mix until smooth. Add in the powdered sugar (and food color, if using) and continue to beat, scraping down the sides of the bowl, until all of the ingredients are mixed in and the frosting is smooth and spreadable.

Assemble the cake

  1. Place one cake layer into the center of a cake plate or platter. Remove the cheesecake from the freezer, take off the sides of the pan, and slide a knife under the parchment to remove the cheesecake from the pan. Peel off the parchment. Trim the cheesecake, as needed to match the size of your cake layers (see *Tips). Place the cheesecake layer on top of the first cake layer. Place the second cake layer on top of the cheesecake.

Frost the cake

  1. Apply a crumb coat layer of frosting to the cake (see *Tips), and refrigerate the cake for 30 minutes, or until the frosting is set. Apply the second layer of frosting. Add a large scoop of frosting onto the top of the cake. Use a long, thin spatula or knife to spread the frosting evenly across the top and then spread it down the sides of the cake too. Decorate, as desired.
TIPS:
*You can certainly bake this cheesecake in the oven without a water bath, but you run the risk of cracking the top of the cheesecake. The water bath is a safeguard against cracking.

*Measure your cheesecake layer against the cake layers. If the cheesecake layer turns out to be slightly larger size round than your cake layers, move it to a cutting board and use a knife to gently shave off some of the exterior of the cheesecake.

*How to apply a crumb coat layer of frosting: use a long, thin spatula or knife to cover the cake completely with a thin and even layer of frosting. Wipe off the spatula each time you’re about to dip it back into the bowl to get more frosting (this way you won’t be transferring any green crumbs into the bowl of frosting). Don’t worry at this point about the crumbs being visible in the frosting on the cake. When your cake has a thin layer of frosting all over it, place it into the refrigerator for 30 minutes to “set” the frosting. Once the first layer of frosting is set, apply the second layer.
*If you are serving this cake at a party, it’s perfectly okay to leave the cake at room temperature for a couple of hours (the cheesecake thaws very quickly). Otherwise, keep it stored in the refrigerator. It also freezes perfectly. Freeze it as is, then wrap it in plastic wrap and store it in the freezer until it is needed. Leftover slices may also be wrapped and frozen.

Zanzibar Islands - Indian Ocean

Zanzibar Islands – Indian Ocean

Zanzibar Islands – Africa – Indian Ocean, Travel Photography: Cities, Regions, Monuments, Landmarks, landscapes, highlights, places to go, people, folklore, costumes, culture and history.